Today I learned that MacOS has a native utility to create encrypted disk images, no third party apps needed. It can be used to encrypt and password protect files and folders. I’m talking about the Disk Utility.
The UX of these images is also pretty good, you can double click on them to mount them at which point, it’ll ask you for a password. Once the correct password is entered, the image is mounted and can be used to read/write files on this image.
You can choose between 128-bit AES encryption or 256-bit AES encryption. 256-bit AES encryption would make it pretty secure and basically uncrackable with a strong password.
There are many other options like choosing the filesystem format. Choosing something like ExFat or MS-DOS (FAT) would make it portable across different operating systems, although I have not yet explored how these images could be decrypted on Windows or Linux.
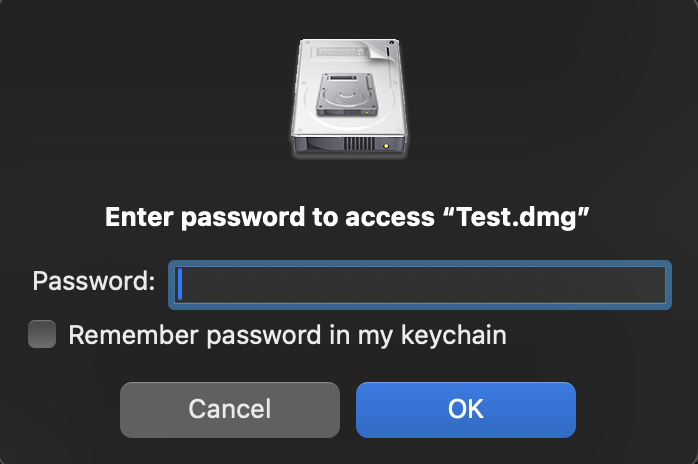
Once the image is created, double clicking on it prompts the user for a password before MacOS mounts it as a regular filesystem.
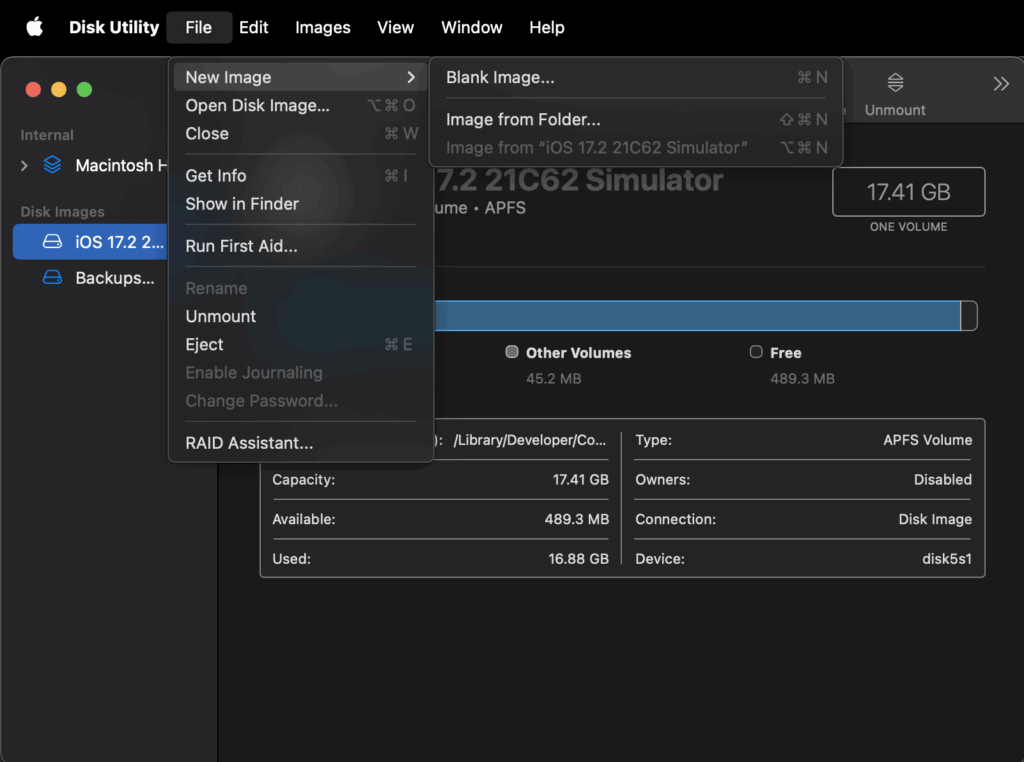
Step by step:
- Open Disk Utility
- Click on
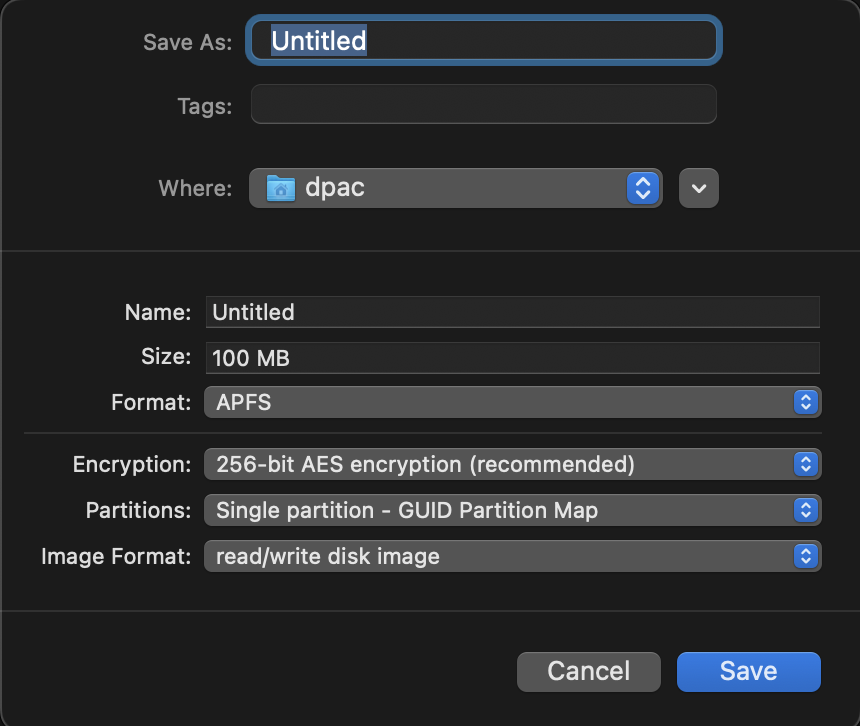
File Menu->New Image->Blank Image/Image from Folder... - Specify a
NameandSize. Keep in mind you cannot resize the image once you create an image of size, so you should allocate a large enough size to accommodate current and future needs. If you run out of space, your only option is to create a new encrypted image and move all your files from old image to new image. - Set
Encryptionto256-bit AES encryption. - Set
Image Formatasread/write disk image. - Set
FormatasExFATorMS-DOS (FAT)if you want image portability. - Save the image to your desired location.
- Double click the image, enter password and click OK to mount it.